I’ve gone on record stating that if I didn’t have my dream job working for Rock & Bloom, I would venture into the world of professional organizing. And I’m not the only one. For as many bakers and artists our team bears, we have just as many organizational wizards. Maybe one day we’ll launch our own version of The Home Edit, but in the meantime I’m here to pass on a few pearls of home organizational wisdom.
Label everything
And I mean everything. Items in the pantry? Label ‘em. Fridge? Label ‘em. Bathroom, laundry room, closets? Label ‘em. Labeling serves two purposes. Firstly, it keeps things in a designated spot, allowing you to locate things with ease. Instead of just throwing things in a cupboard willy nilly, you’ll be more purposeful about where you place your items. Secondly, labeling looks clean, uniform, and just darn pretty.
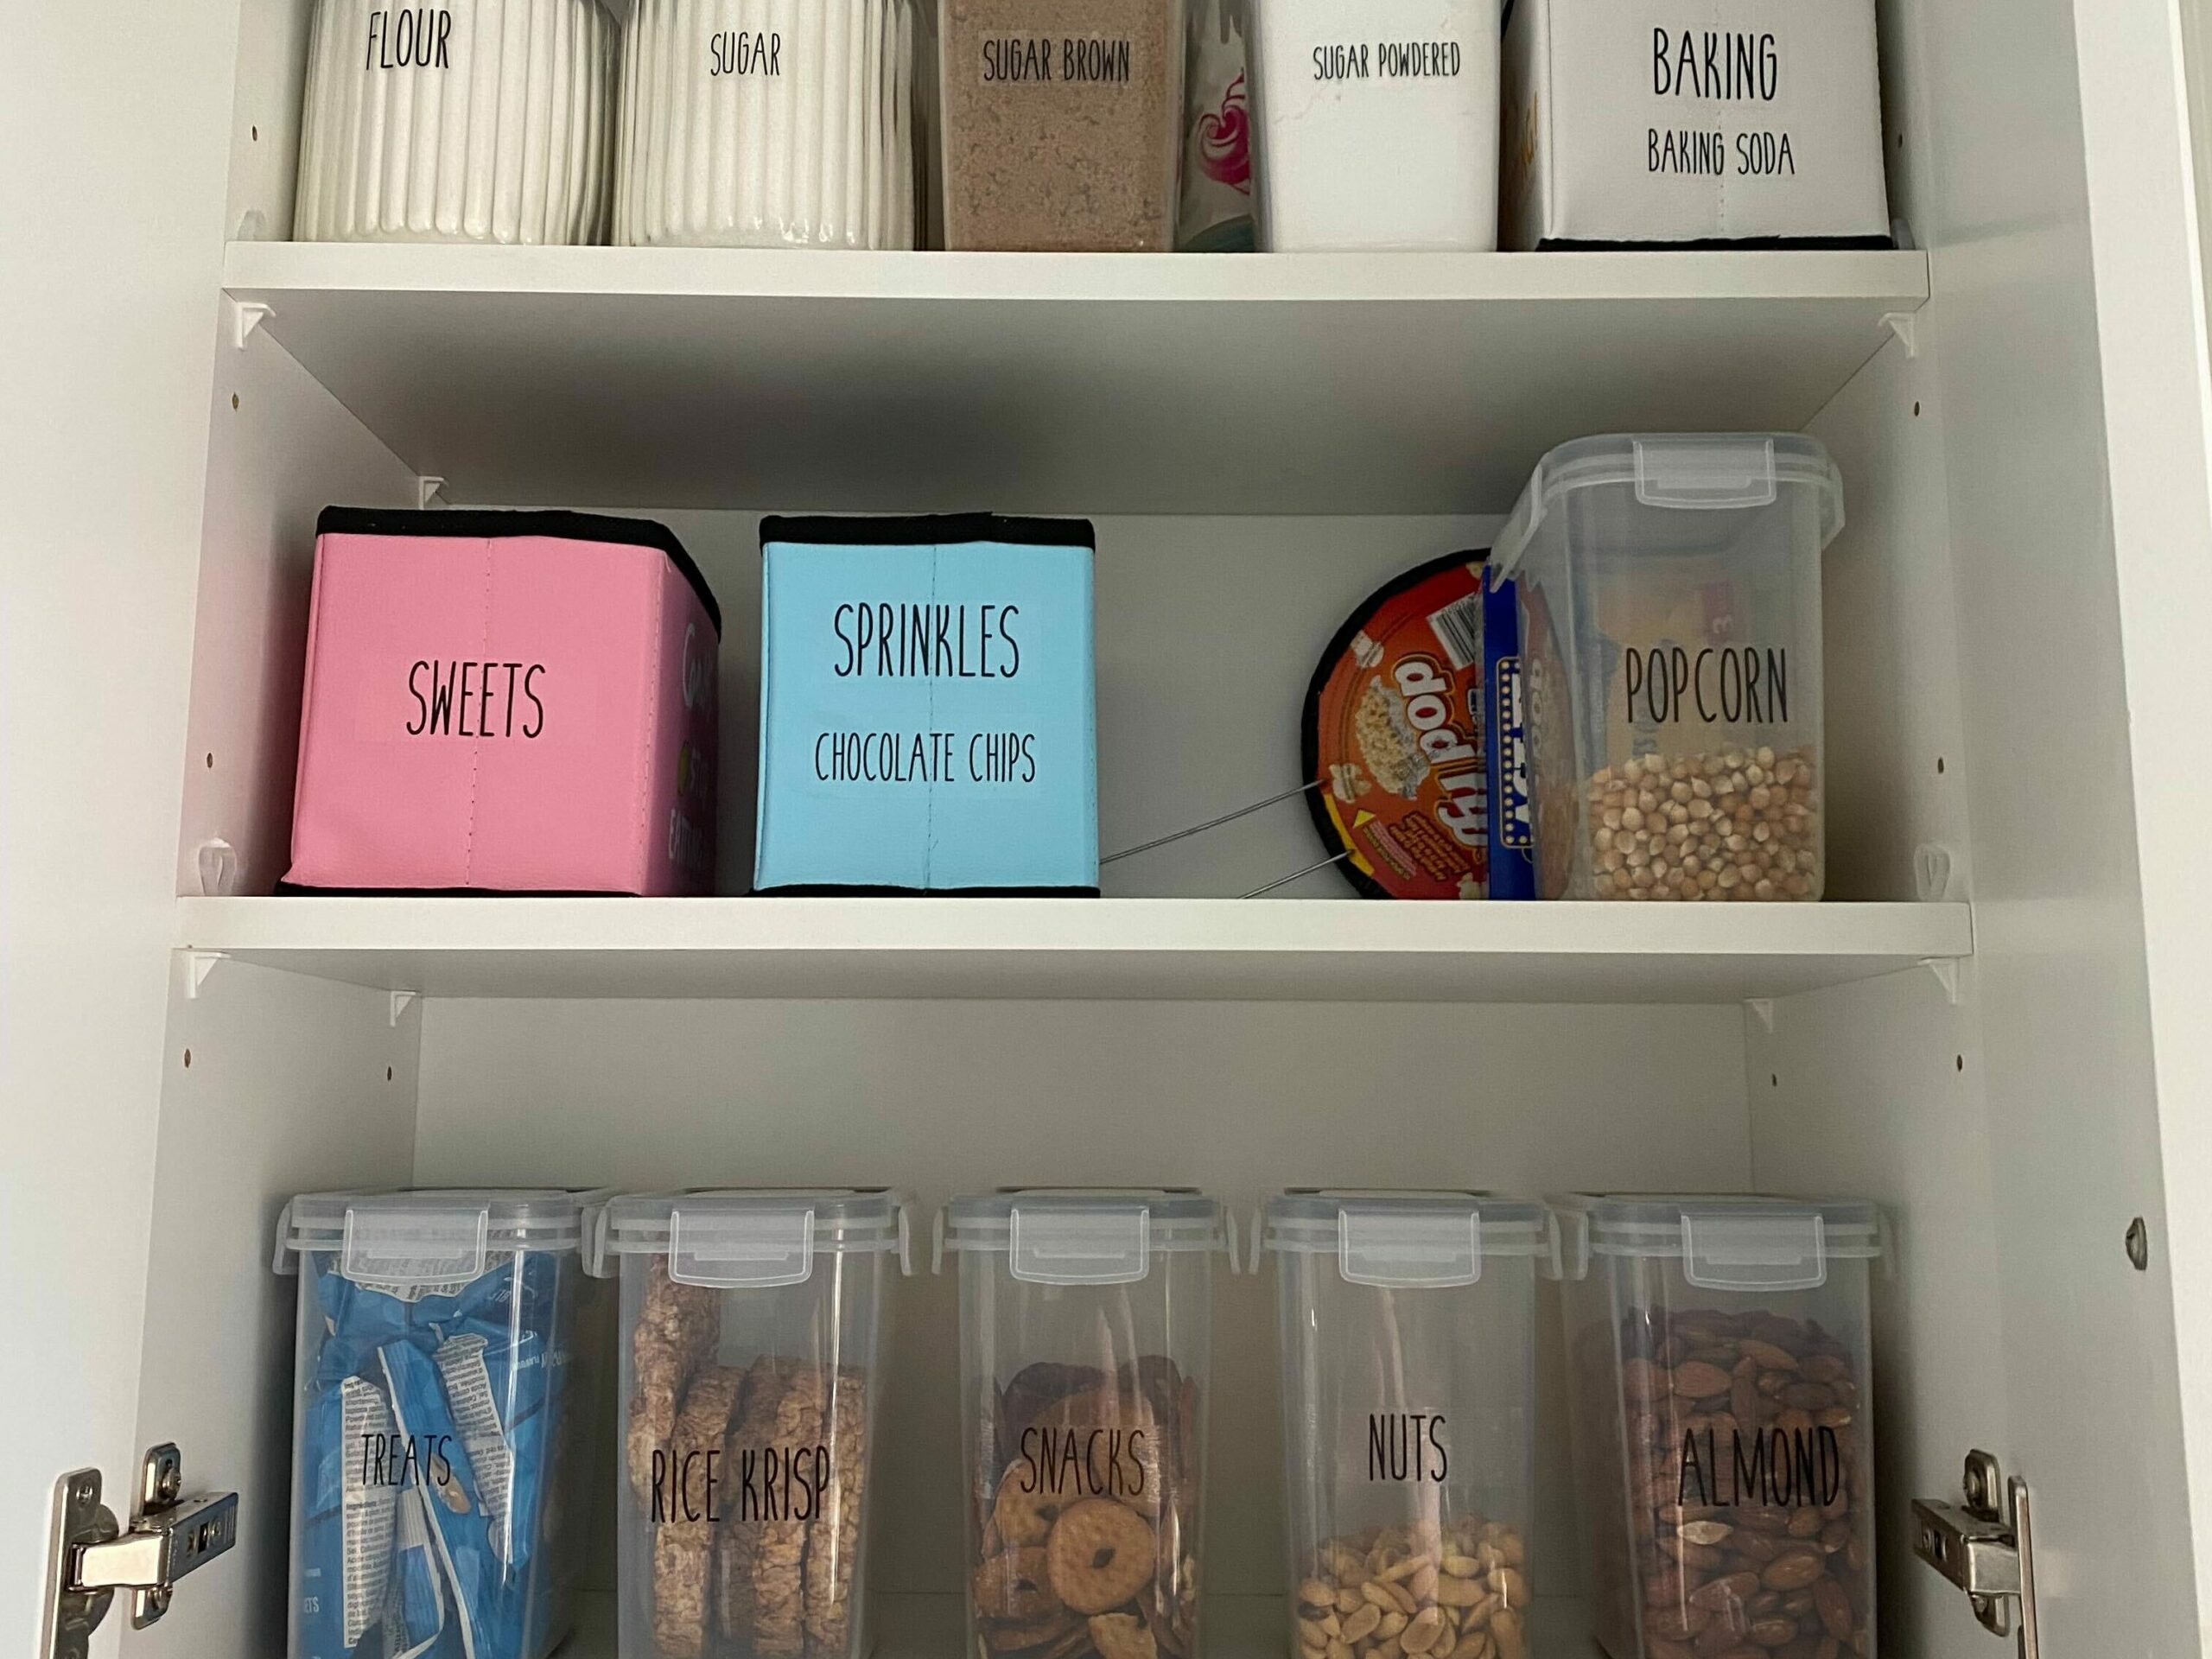
Say goodbye to boxes and packaging
Unnecessary boxes and packaging are one of the biggest thieves of usable cupboard space. This is especially noticeable in the kitchen. Storing cereal and pasta in clear containers will help you get the most out of your space, while also allowing you to see when you’re getting low on something. After all, nothing’s more aggravating than grabbing a box of crackers to find that it’s just crumbs at the bottom.
Save time with clear containers
For items that you’re storing – things like Christmas decorations, seasonal items, winter clothing, etc. I recommend using clear storage containers. This allows you to stack containers in your closet or garage, and see what’s in them without having to take down and dig through each one. It’s not the prettiest organization solution, but it’s a huge timesaver.
Use small containers to keep drawers tidy
It’s very easy for a drawer to lose its purpose and quickly become a “junk drawer”. But let me tell you from experience that even junk drawers can be organized. If you’re on a budget, places like Dollarama or The Dollar Tree carry great little containers and trays that will work perfectly. Start by cleaning everything out of the drawer you’re organizing, throwing away anything that’s expired, and donating or selling anything that never gets used. Once you have a clean drawer you can start putting the containers in where you want them. Try to keep each container as its own zone. For example, in our bathroom drawer I have one container for toothbrushes and toothpaste, one for combs and brushes, one for eye care supplies, and one for deodorant. Everything has a place and it keeps the drawer from looking like a stressful mess.
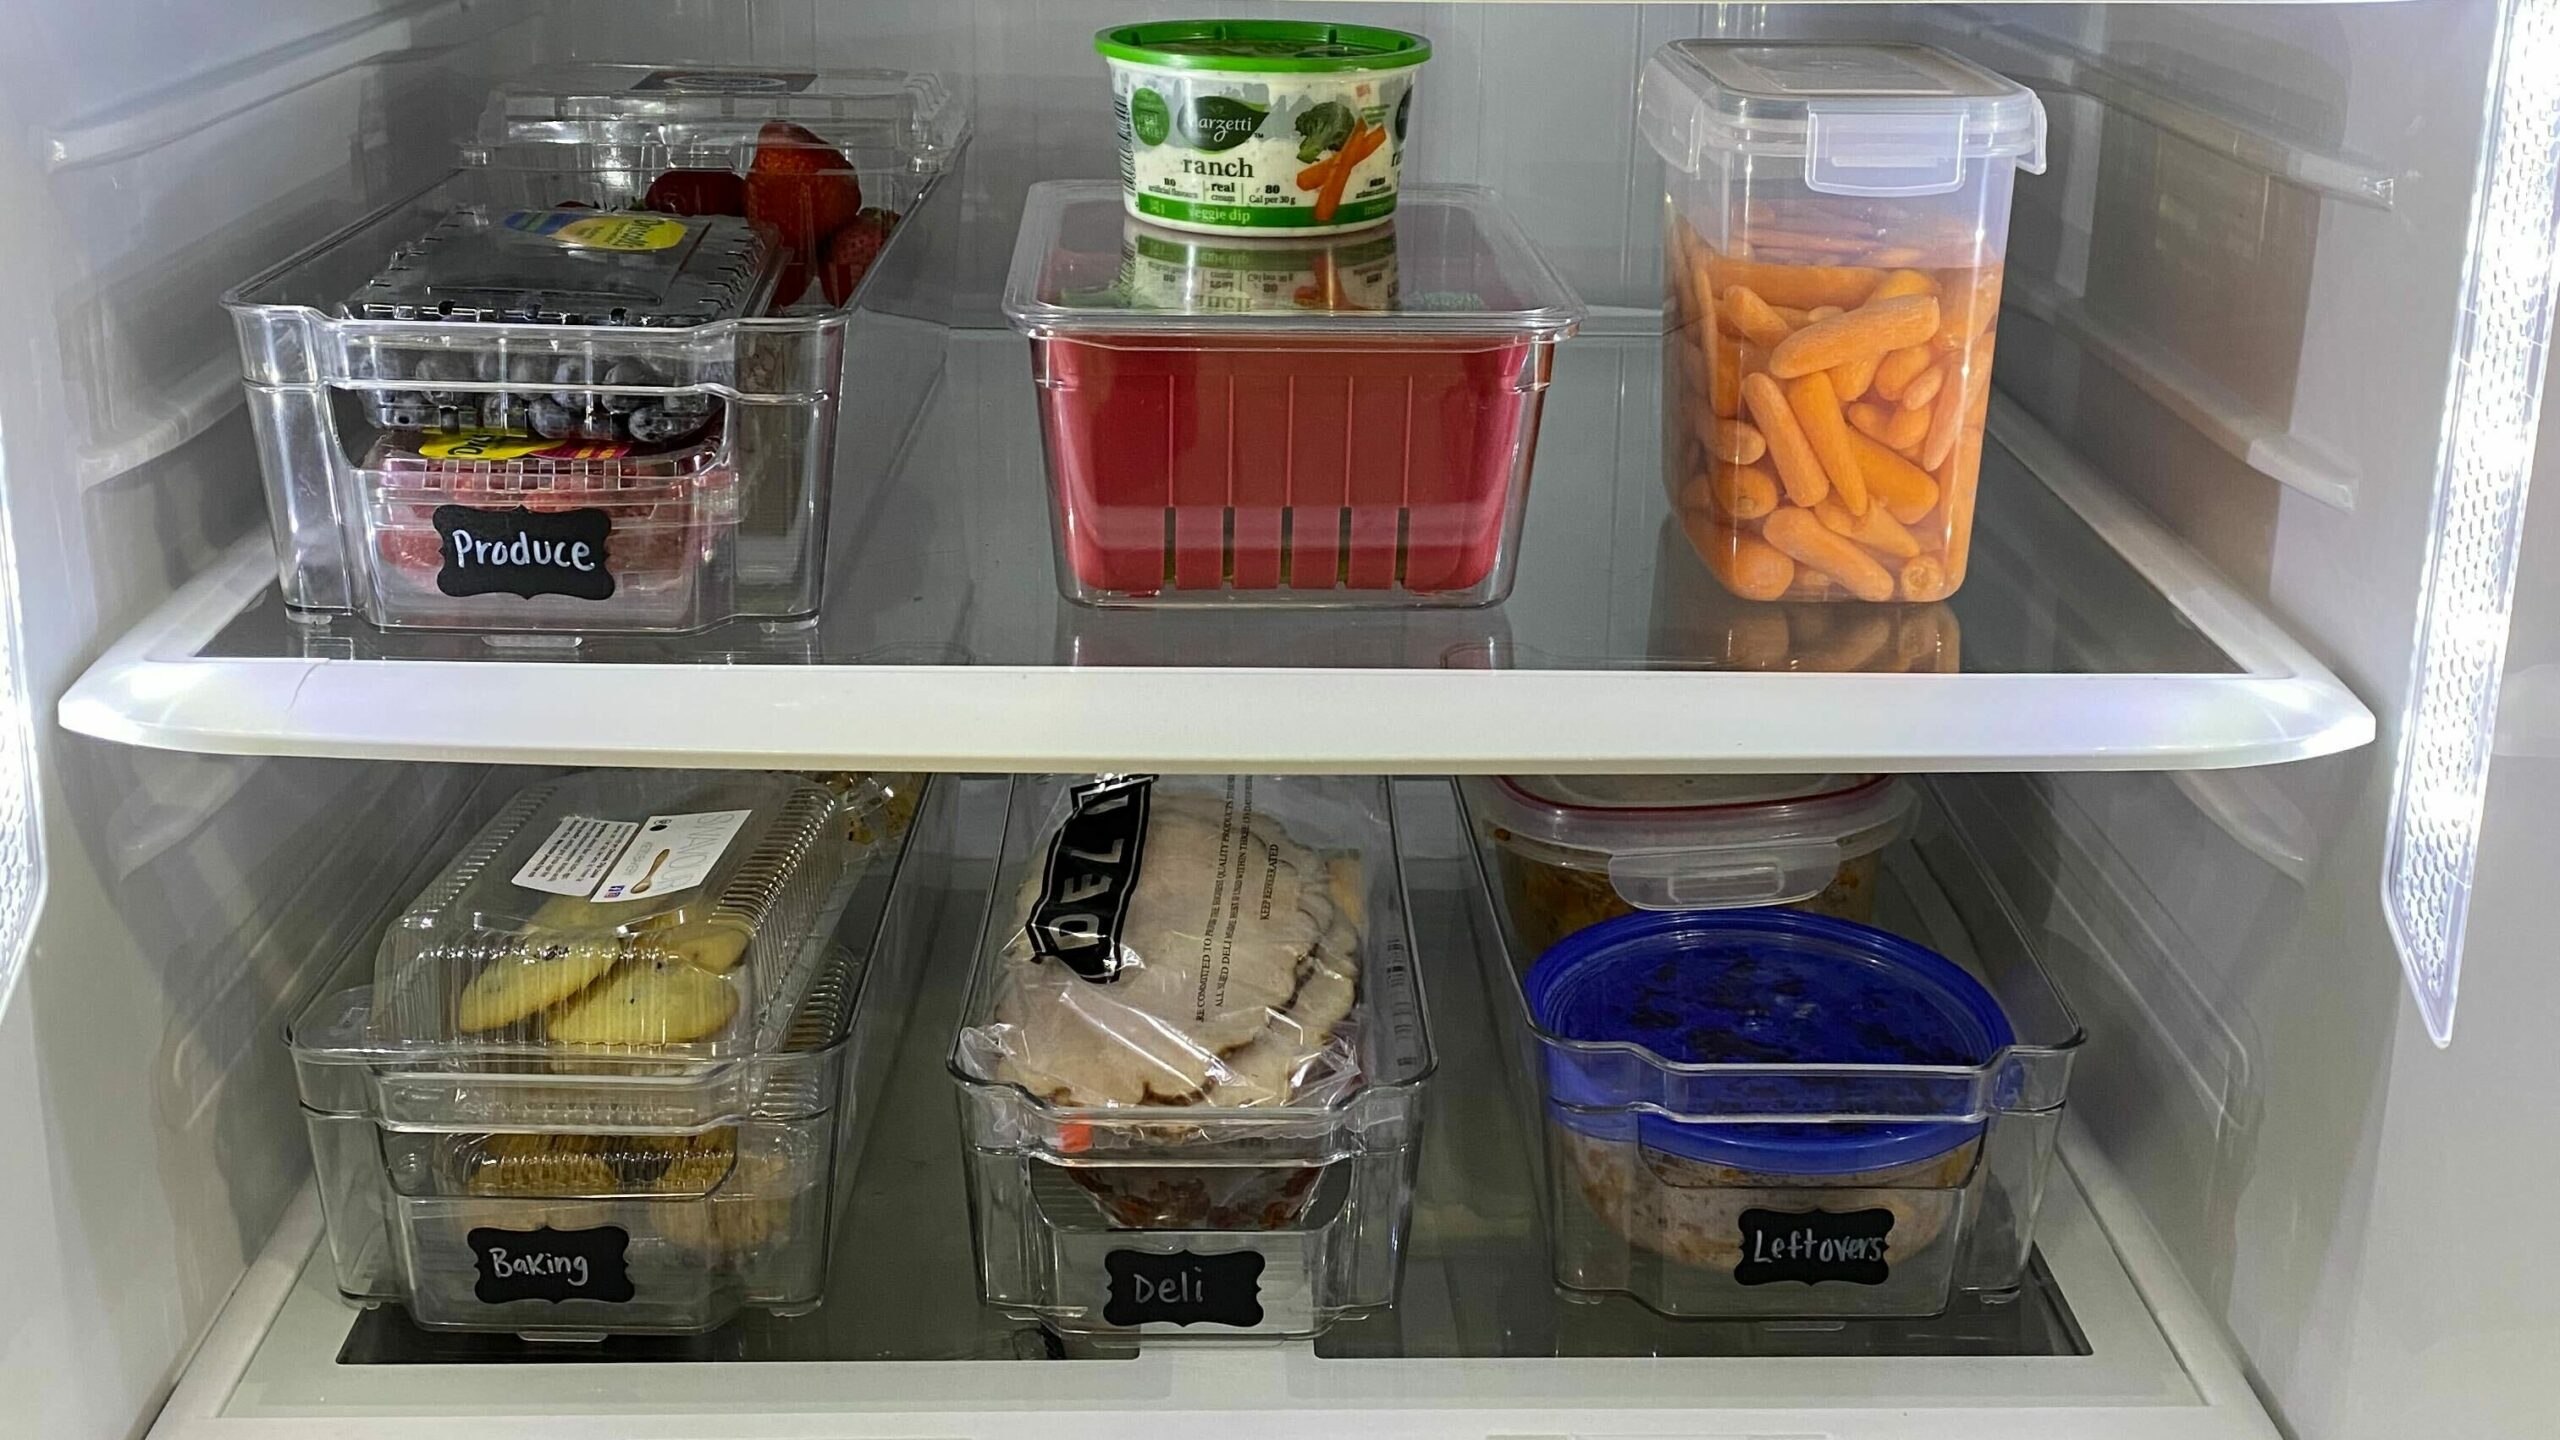
Maximize fridge space
Maximize your fridge space with, you guessed it, containers. Labelled containers look nice, but more importantly I’ve found that they increase the use of fridge space. Like a lot of people, my toxic trait is buying a bunch of groceries and then having to throw them out weeks later, because half of my items got pushed to the back of the fridge and I couldn’t see them. Not only do containers help you keep things in zones (dairy, fruits, veggies, snacks, leftovers, etc), but they also allow you to use the full length of your fridge, easily pulling out the containers to see what’s at the back. No more moldy spring mix!
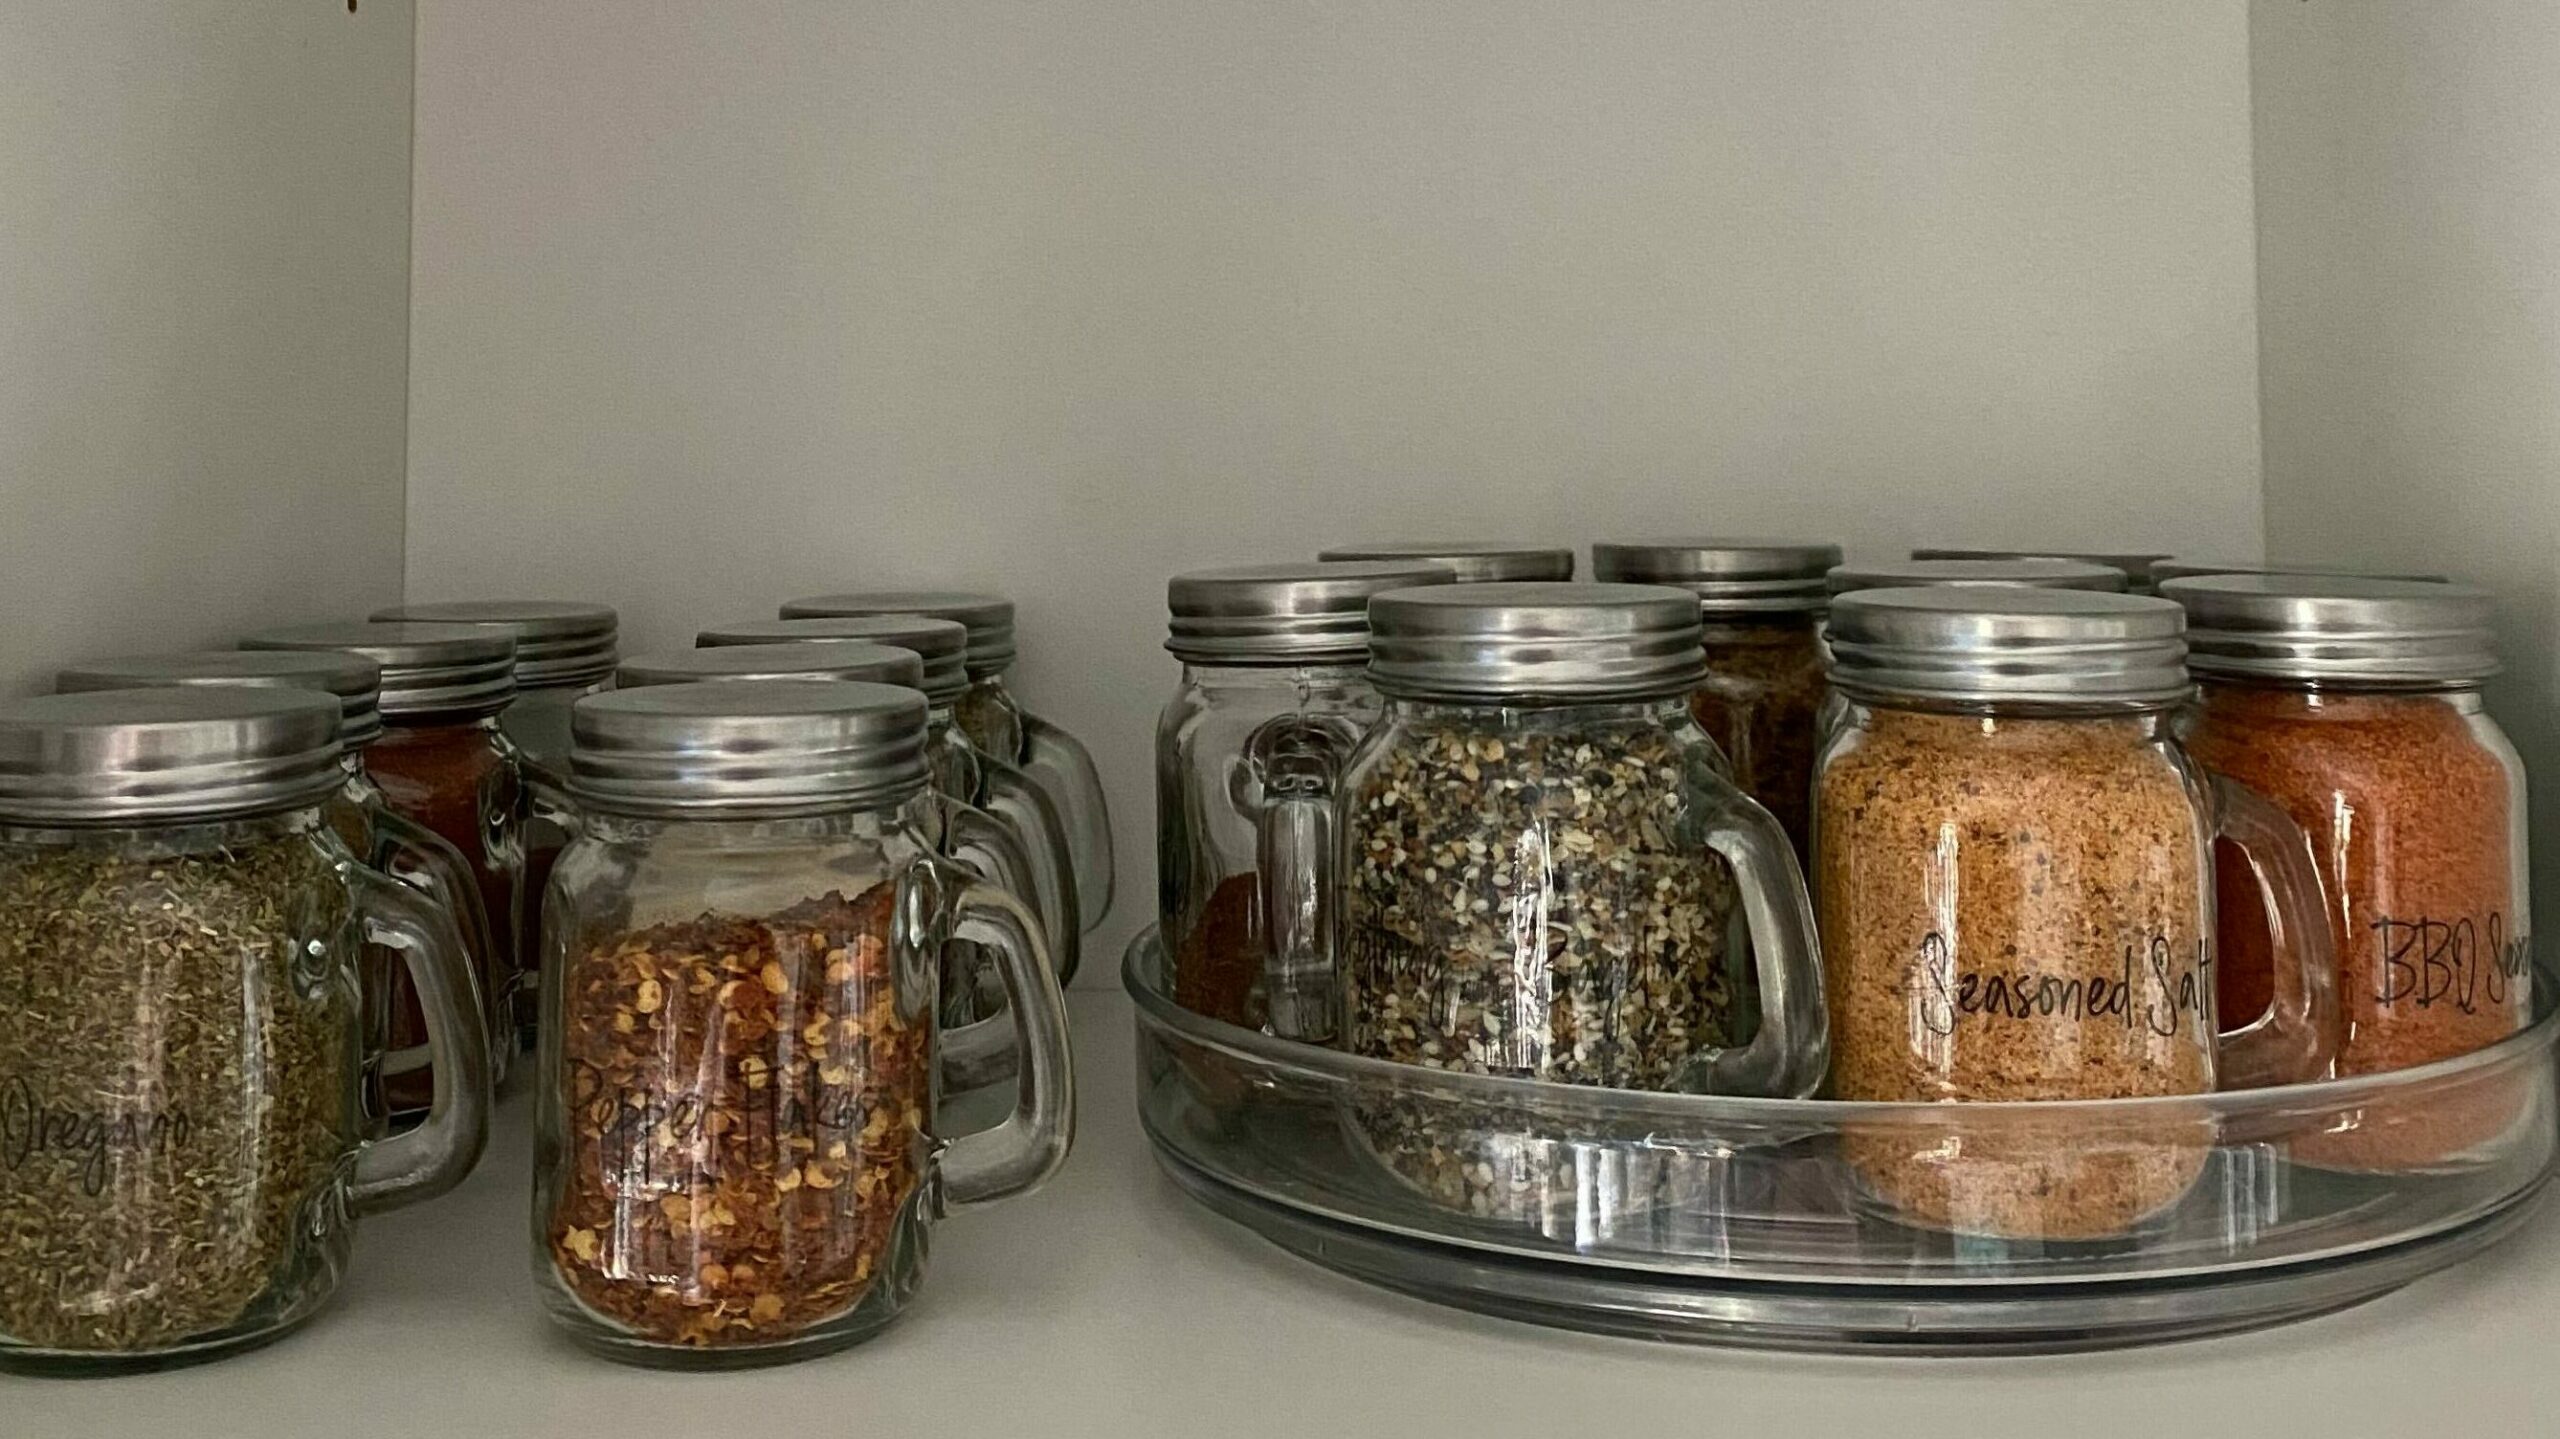
Use turntables for spices
My partner likes to cook and thus we have an alarming amount of spices. I hated opening the cupboard and knocking over half opened bags of oregano, as I rummage to find the popcorn seasoning. Enter the turntable. I started by pouring all of my spices into matching glass containers, labelling them (of course), and then situating them face out on a turntable that I picked up from Dollarama (if you can find this , it’s a great cost-effective dupe to the Home Edit one). Now I can find any spice faster than you can say “you spin me right round, baby, right round”.
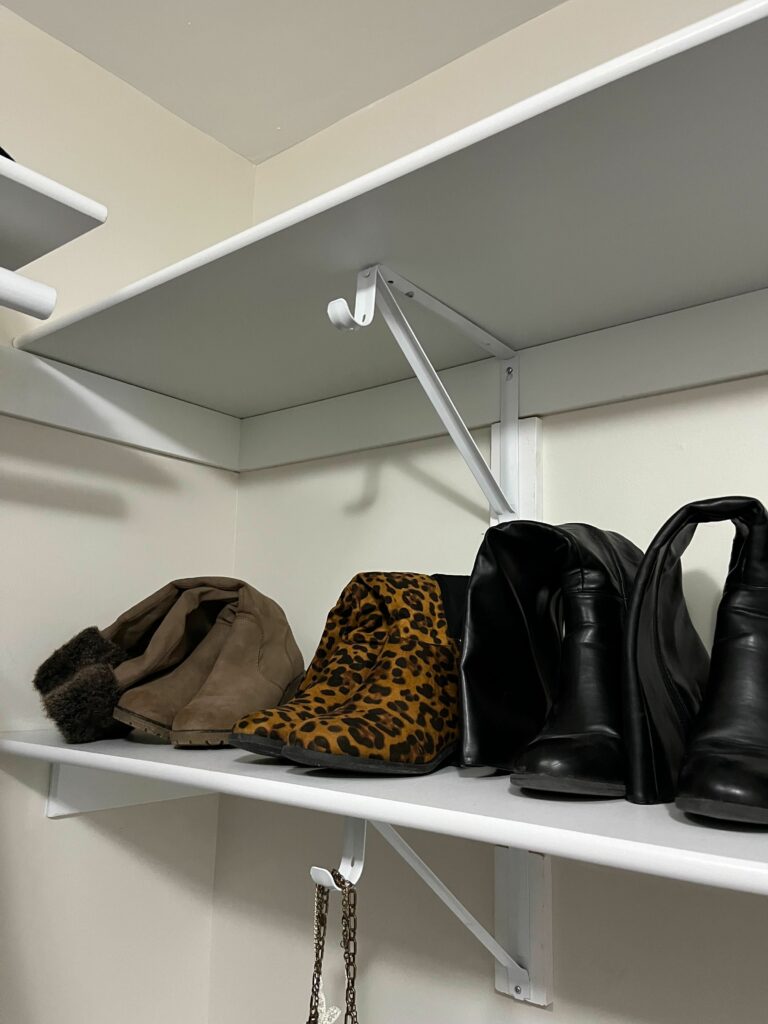
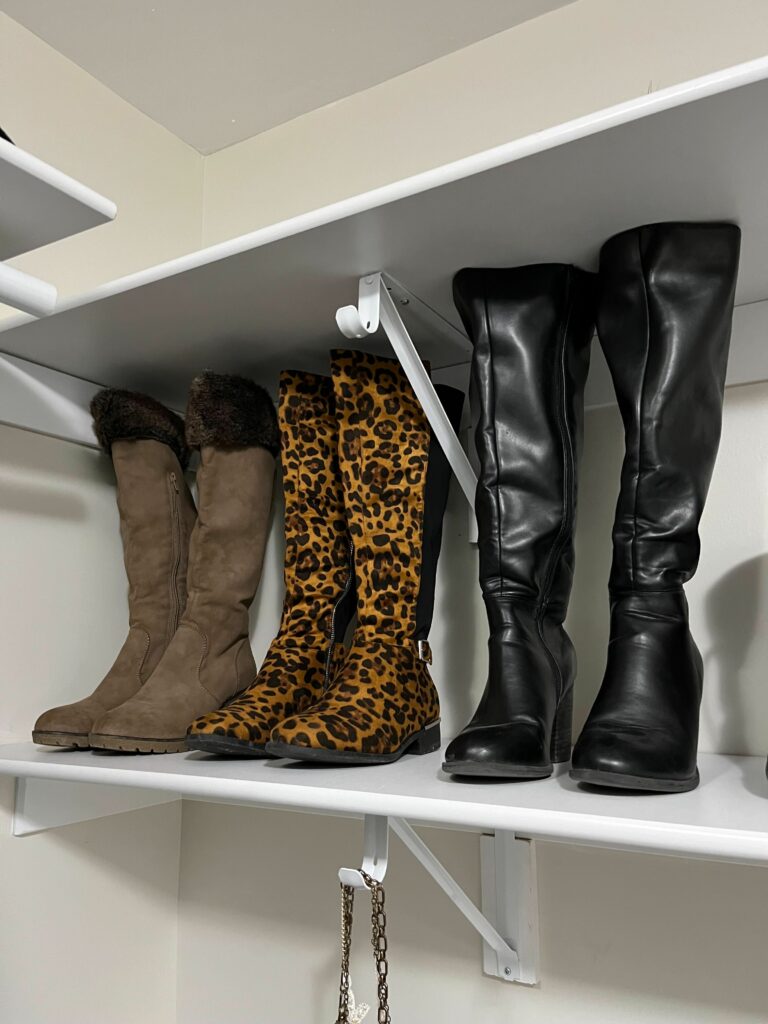
Store tall boots with pool noodles
Whether you’re dealing with a walk-in closet situation or a tiny front hall cubby, storing your shoes is often a game of Tetris. One of my biggest annoyances is trying to store tall boots; the slides flop over, creating creases and also taking up more space than needed. A quick little trick is to grab a pool noodle and cut it into pieces (keep them a bit shorter than the length of the boot) and then put inside the boot to hold it up! Don’t have a pool noodle handy? I used sheets of square construction paper, rolled them, and taped them to my desired width. Easy peasy!
Organize your sock drawer with cubes
This one is for those who can’t stand to open their top dresser drawer and see a mix of mismatched socks, underwear, and probably a few pieces of lint and loose change. Luckily, it doesn’t have to be this way. I purchased a couple of sock storage cubes on Amazon and it has given me so much more space in my drawer! I started by getting rid of any socks or underwear with holes or rips, and any socks that didn’t have a sole mate (see what I did there?). Next, I rolled all of my socks and underwear and put them in the cubes (for thin socks, I would put two pairs in each). And that’s it!
“How many people can brag about having a perfectly organized sock drawer?”
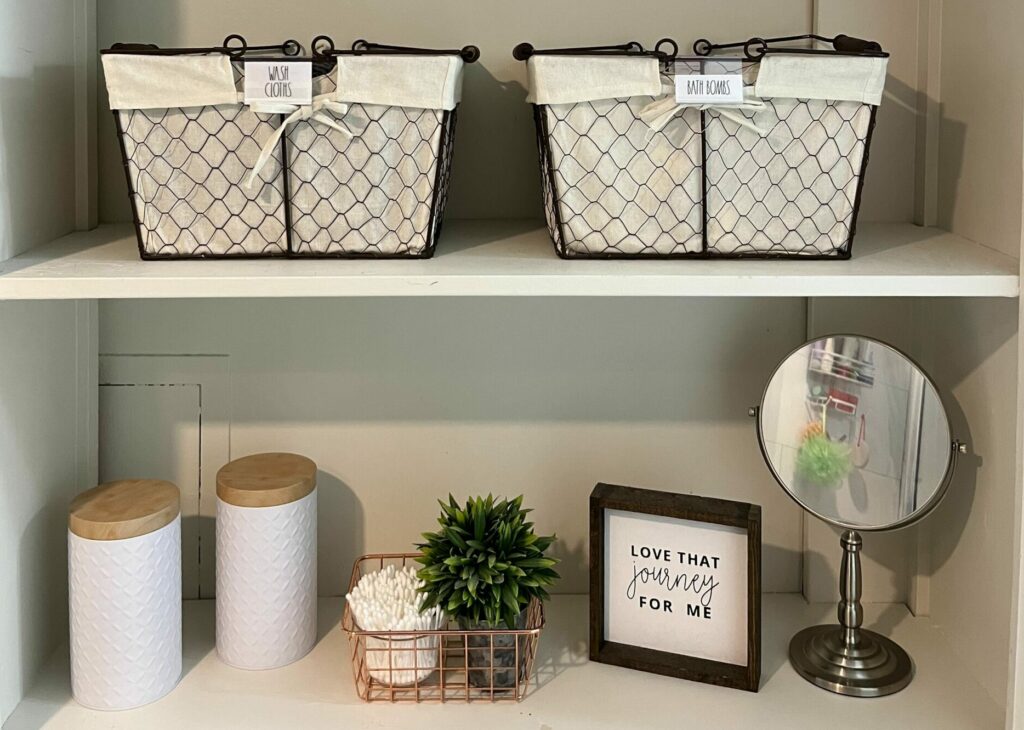
Roll towels and face cloths
Organization is all about maximizing the amount of space you have. This is especially true if you live in a small house or apartment and don’t have a lot of storage or cupboard space. Storing towels can be particularly tricky as they are bulky and take up a lot of room. I’ve found that folding towels in half lengthwise and then rolling them has been the most effective way to store them. I have very narrow open shelves, and this way I’m able to fit them on the shelf and stack them in a way that looks visually appealing. I do the same thing with my face cloths; rolling them and then storing in a decorative basket.

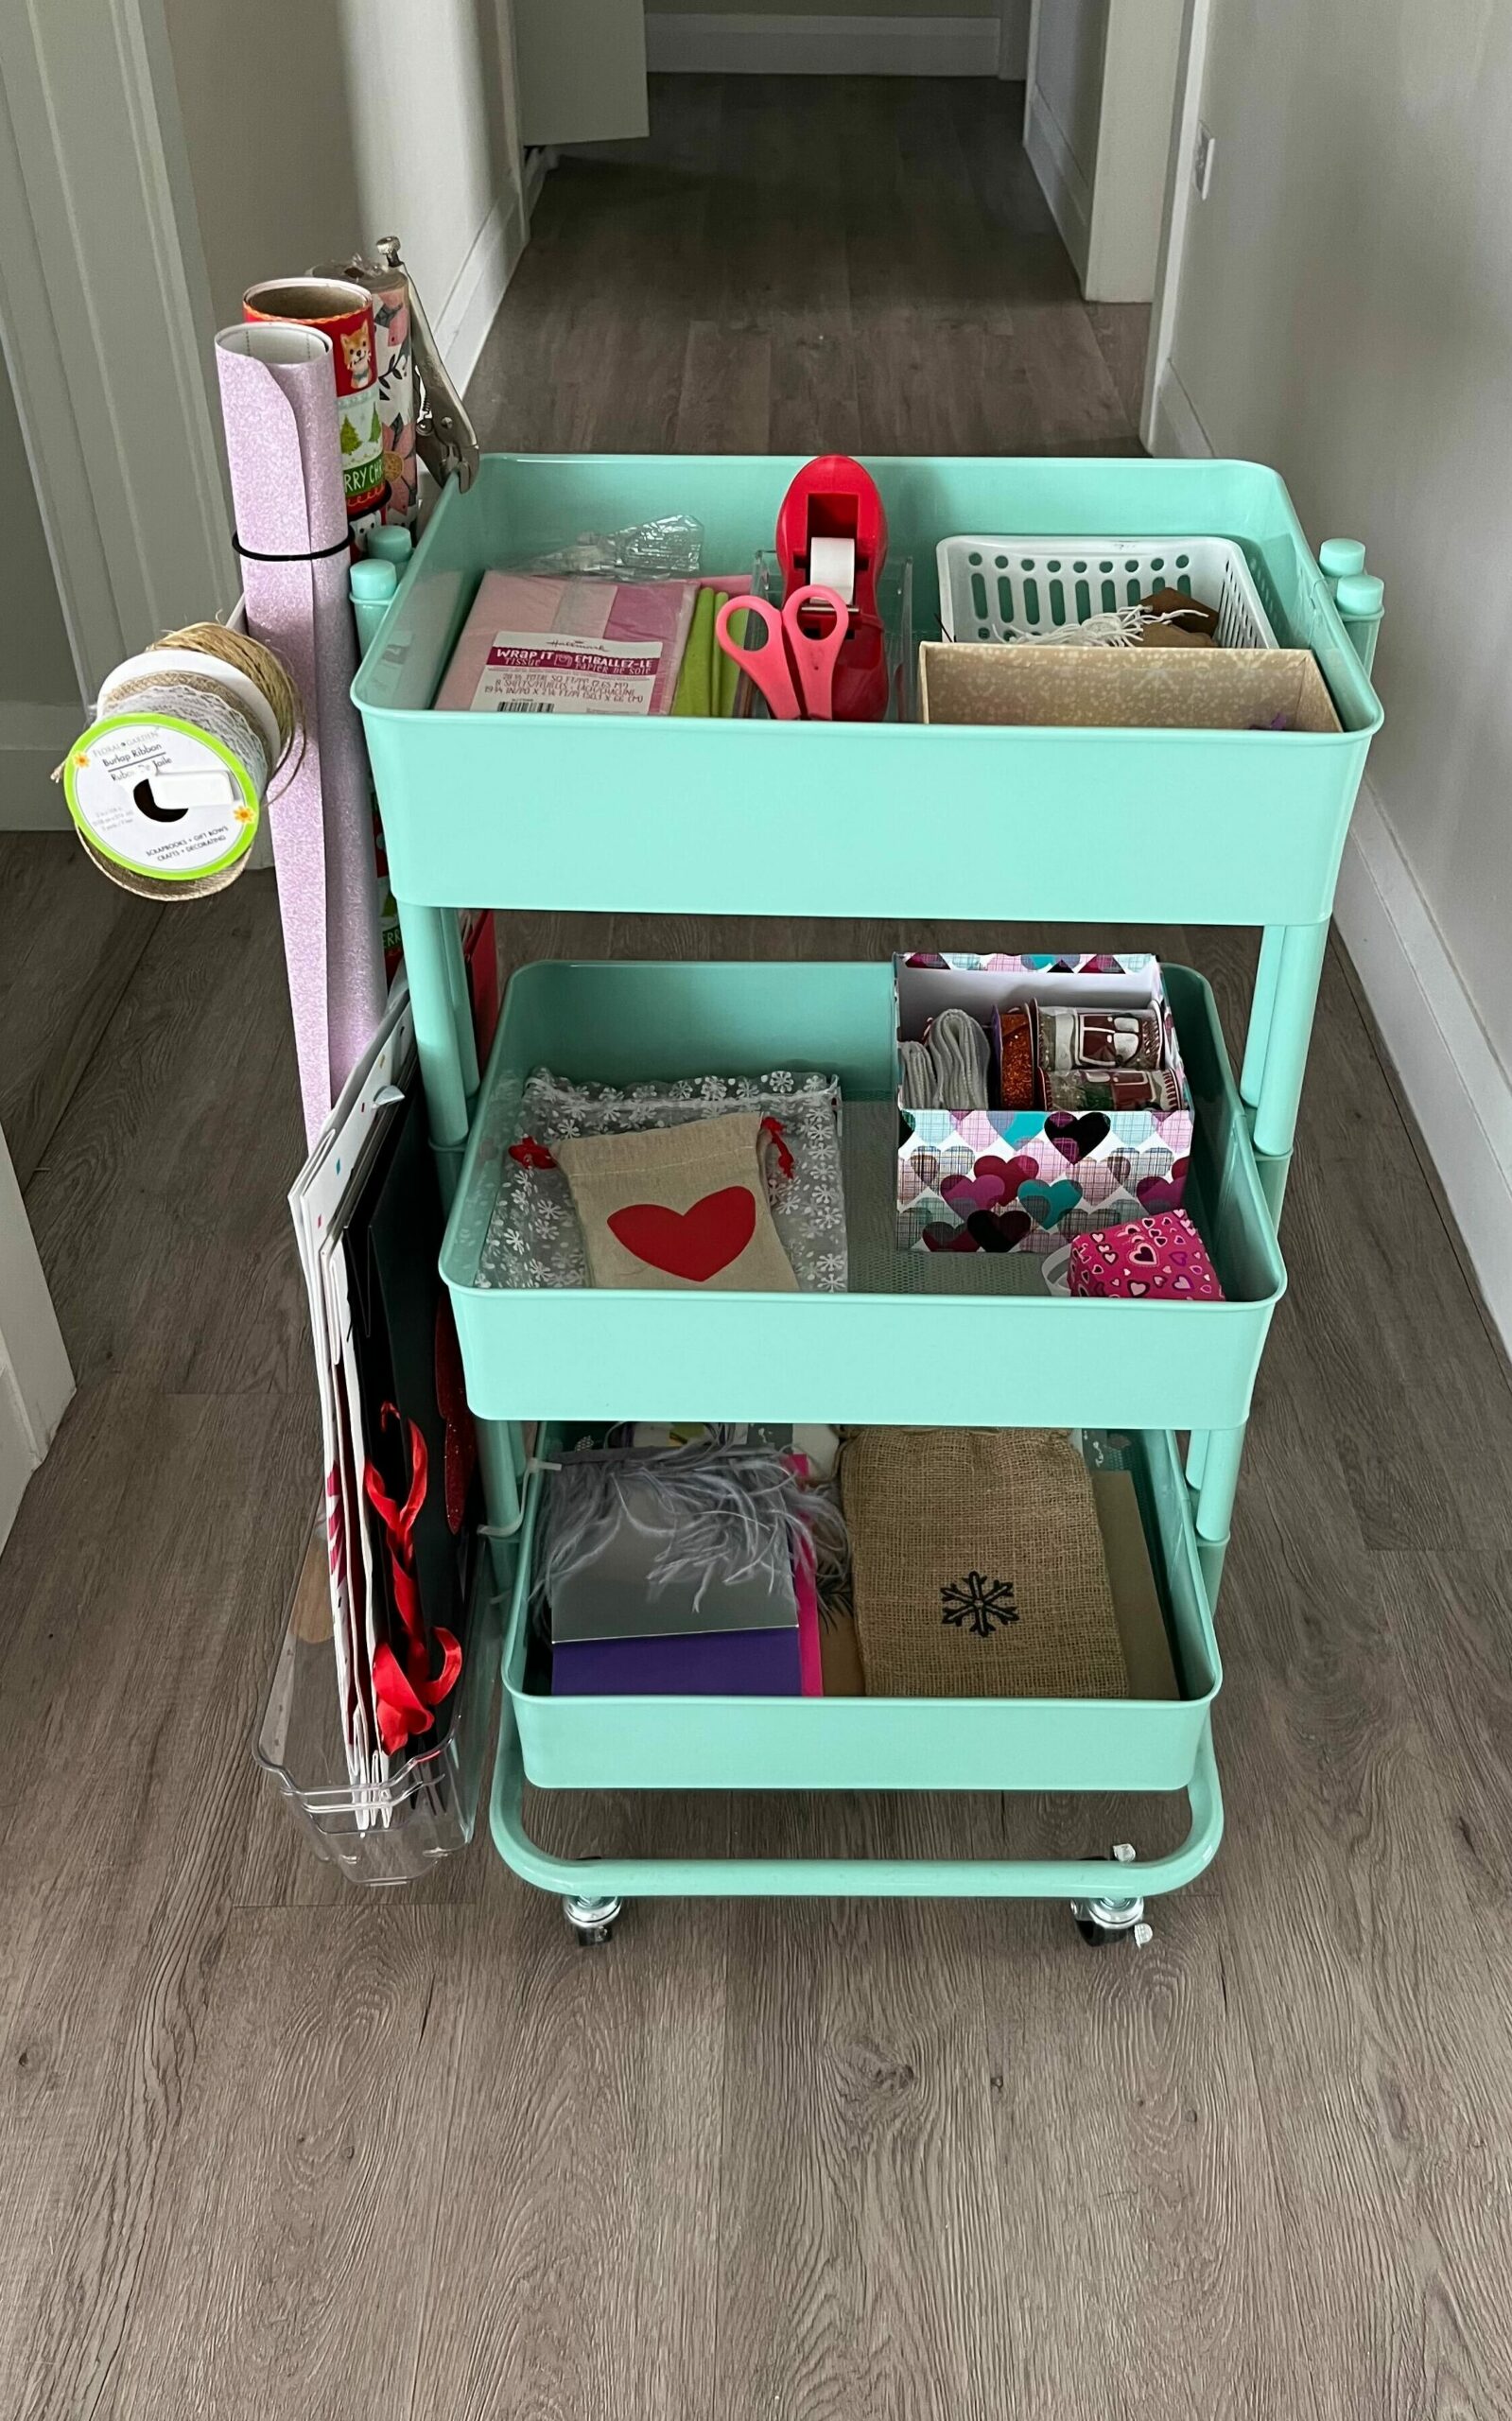
DIY a rolling wrapping paper cart
If you love gift-giving, or perhaps just want to make holidays less stressful, then a wrapping paper cart is a must. I used one of those three-tiered rolling carts (found at Michaels, Canadian Tire, etc.) and designated each tier a different purpose. The bottom stores gift bags, the middle stores gift tags, cards, and bows, and the top is where I store my scissors, tape, markers, and tissue paper. Lastly I zip tied a small, narrow bin to the bottom side of the cart, and then glued a paper towel rod to the top. This keeps my wrapping paper in place and the rod doubles as a place to hang spools of ribbon. Now simply roll the cart to wherever you do your gift wrapping. Voila!
Maybe you love organizing; or maybe you hate it, but your new year’s resolution was to finally get your home in order. Either way, I hope these simple tips will help you get started!